SKAVEN SPELLS OF RUIN
   |    |
SKAVEN SPELLS OF PLAGUE
   |    |
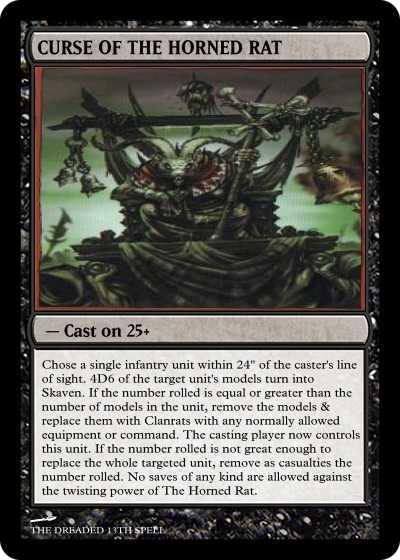
THE DREADED THIRTEENTH
|
SKAVEN SPELLS OF RUIN
SKAVEN SPELLS OF PLAGUE
THE DREADED THIRTEENTH
3 Comments
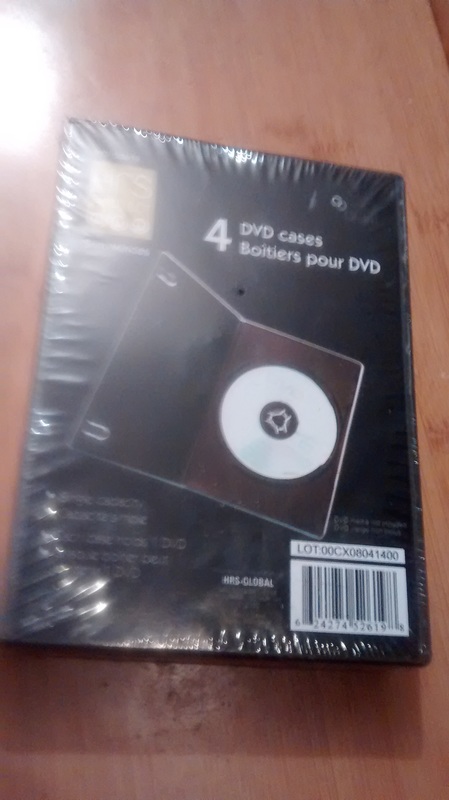
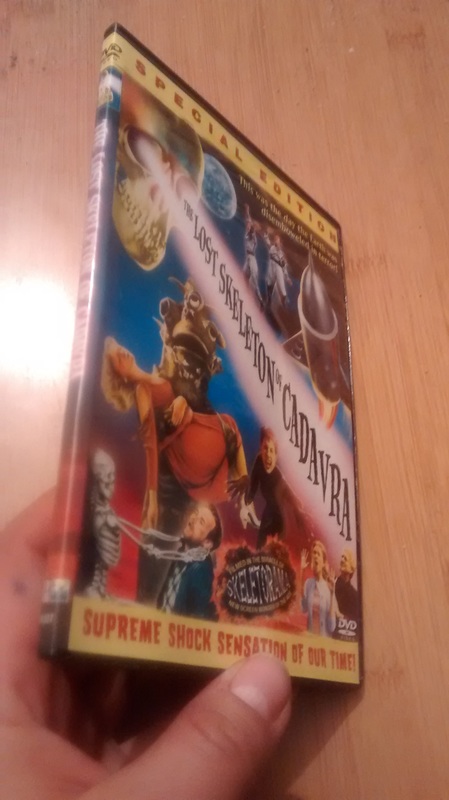
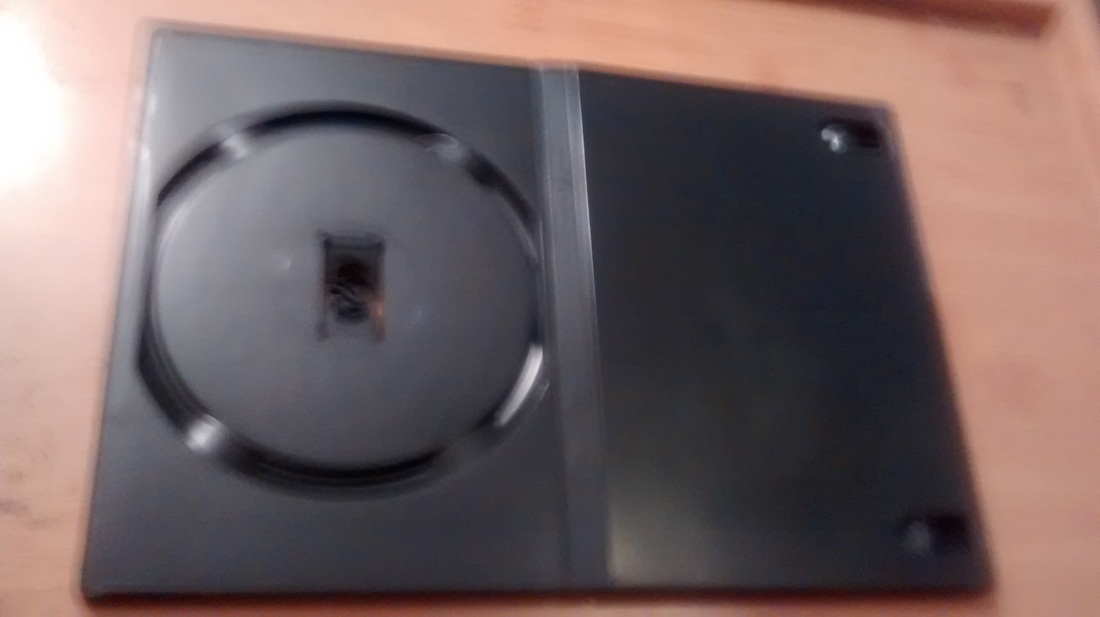
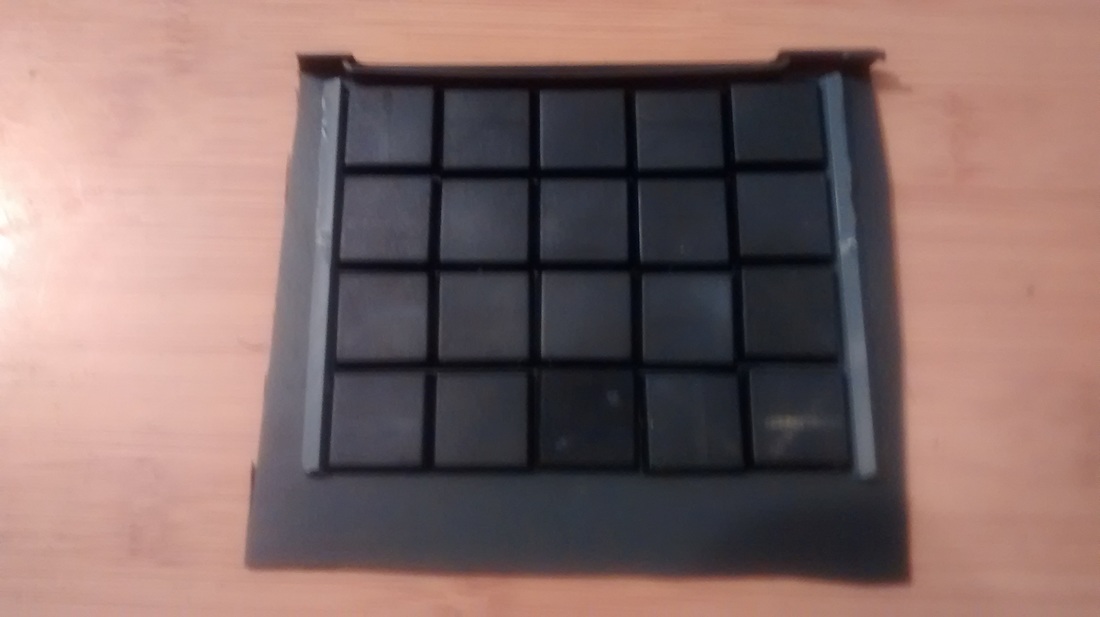
 I'm taking a break from talking about Skaven specifically to share my method of making budget movement trays that are quick, functional, and still look rather good. This was born out of pure necessity and I never really gave it a second thought until some posts on various forums I frequent made me consider that it might be of interest to someone. So this post is aimed primarily at anyone new to the hobby or who doesn't have the time to/doesn't want the expense of guying GW movement trays or making them from balsa wood/sheet metal. I. MATERIALS Ideally you should already have all the stuff you'll need around the house, except perhaps magnetic paper, which can be found for incredibly cheap (see below). Basically what you'll use for this project are: a hobby/exacto knife, a ruler, scissors, superglue, basing materials of your choice, and... some excess sprue 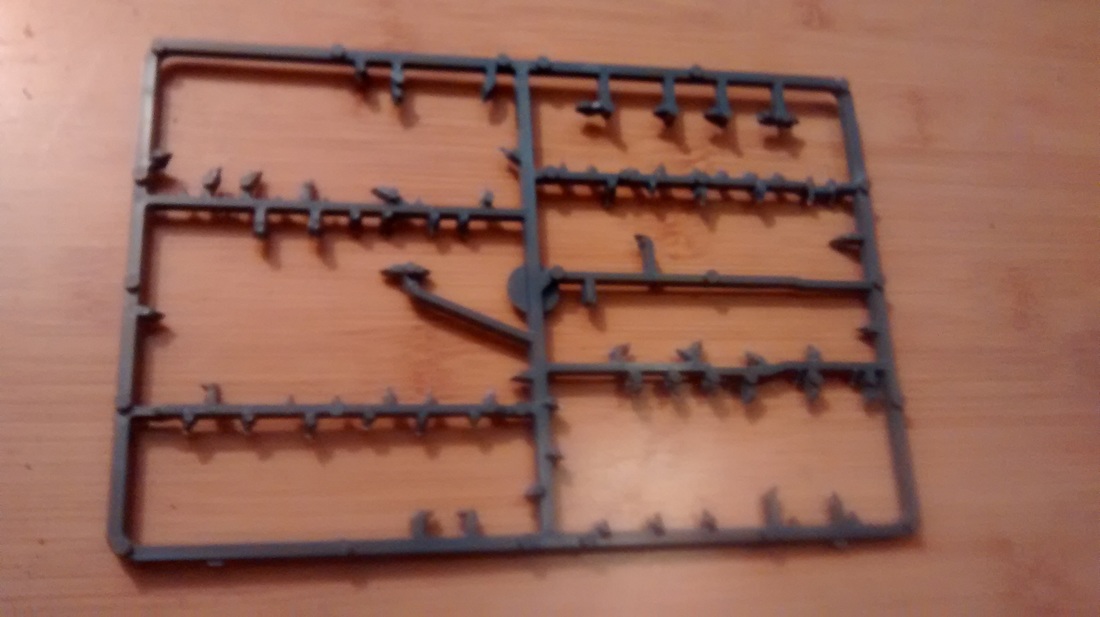 an old dvd case 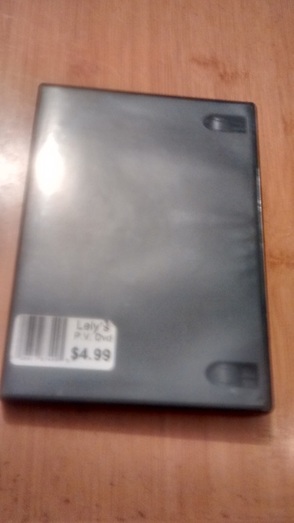 If you're like me, you already have a bunch of these hanging around or old dvds you don't want that you can pilfer one from. If not, you can grab them from dollar stores and discount retailers in packs of 4 or 5 for around a dollar. For myself, I buy 4 packs of the slim cases from my local Dollarama and then transfer my existing DVD collection to these, keeping the old cases for my hobby.
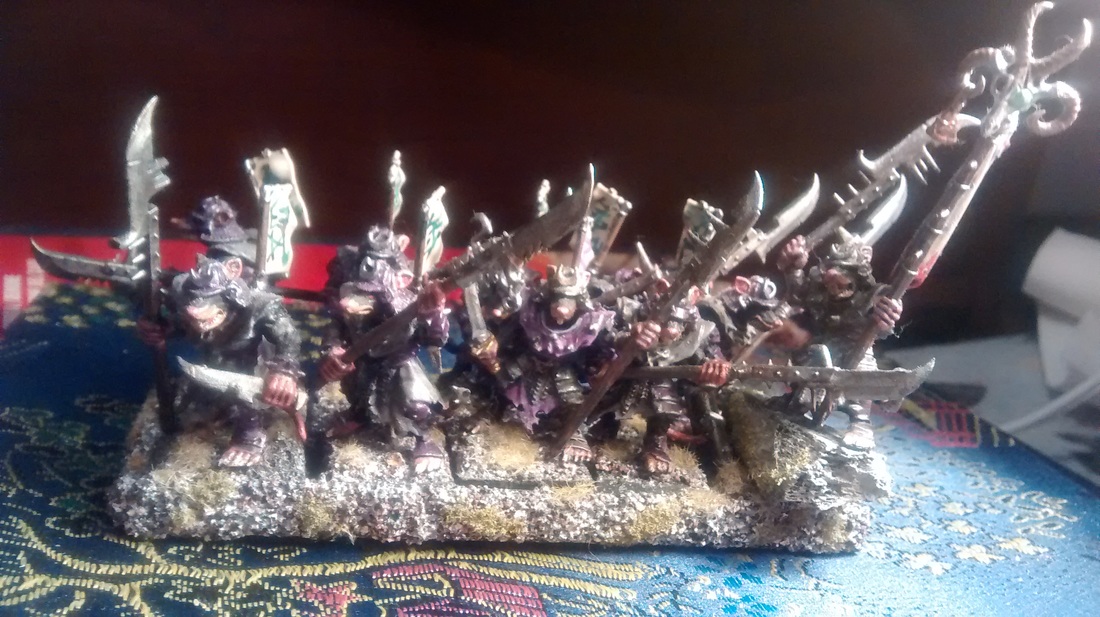
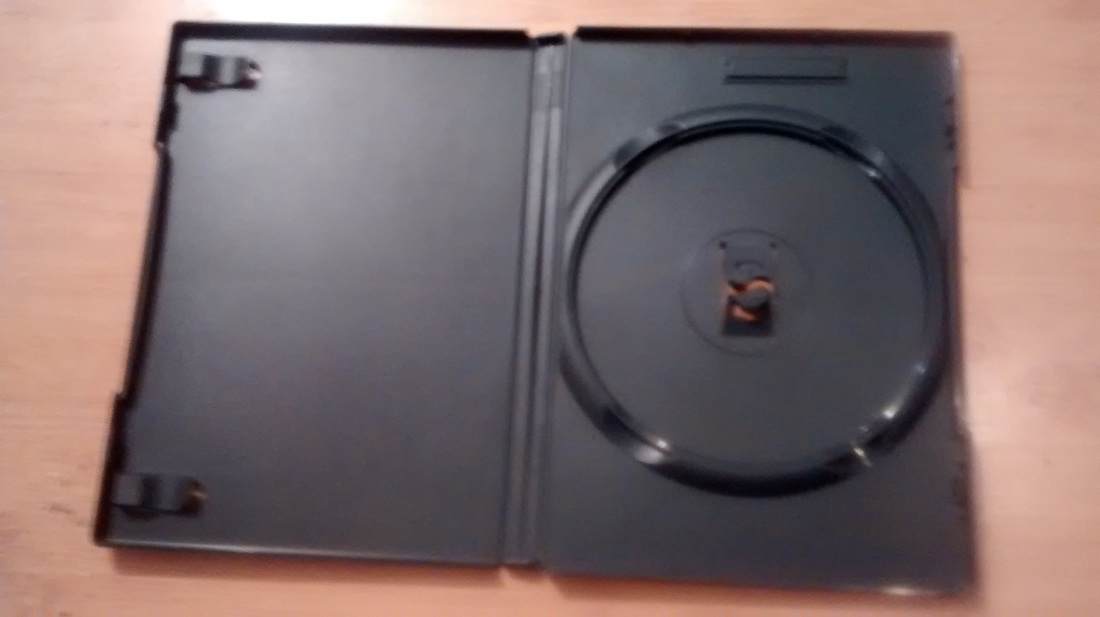
and a sheet of magnetic paper 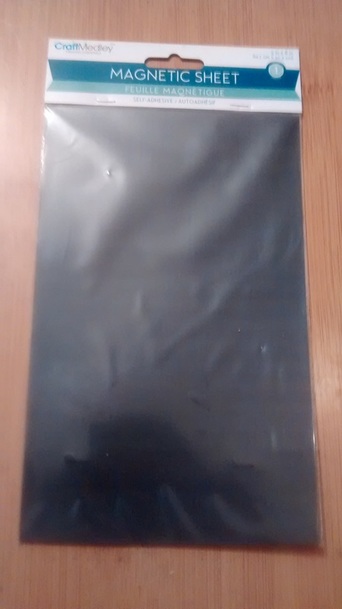 I also grab these from the local dollar store for $1.25 a bag. They have adhesive backing and are very easy to cut. II 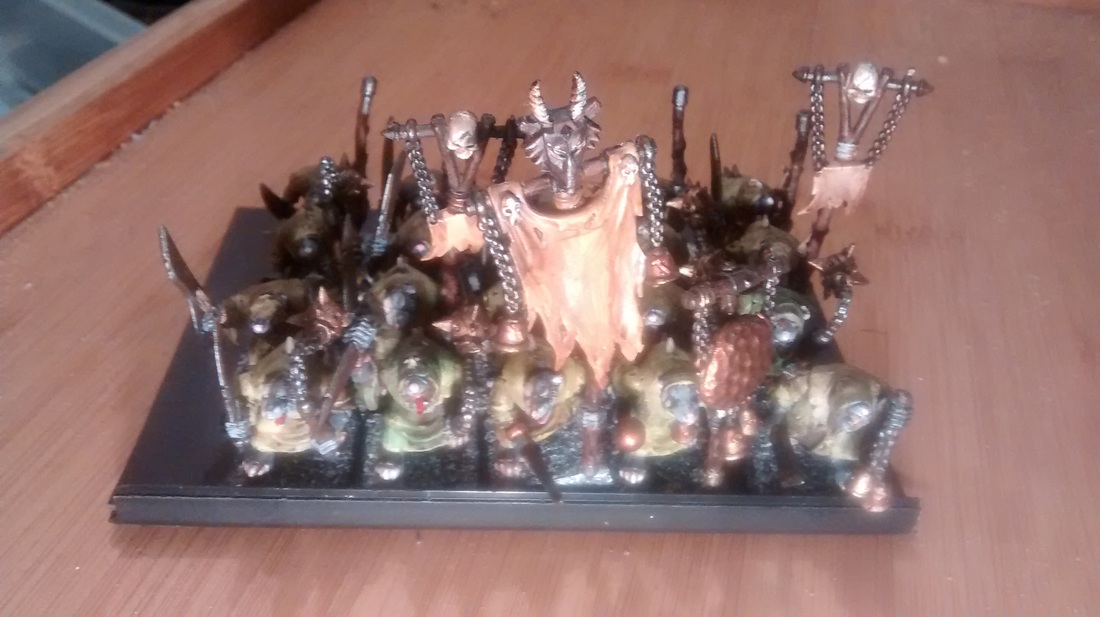 So in this case I have a new unit of Plague Monks I painted up in about 4 hours for an upcoming game (in the near future I'll do a post on speed-painting Skaven), and I need a movement tray for them, so I grab a DVD case, cut off the plastic sleeve on the front, and then cut it in half along the spine, discarding the half with the disc holder.
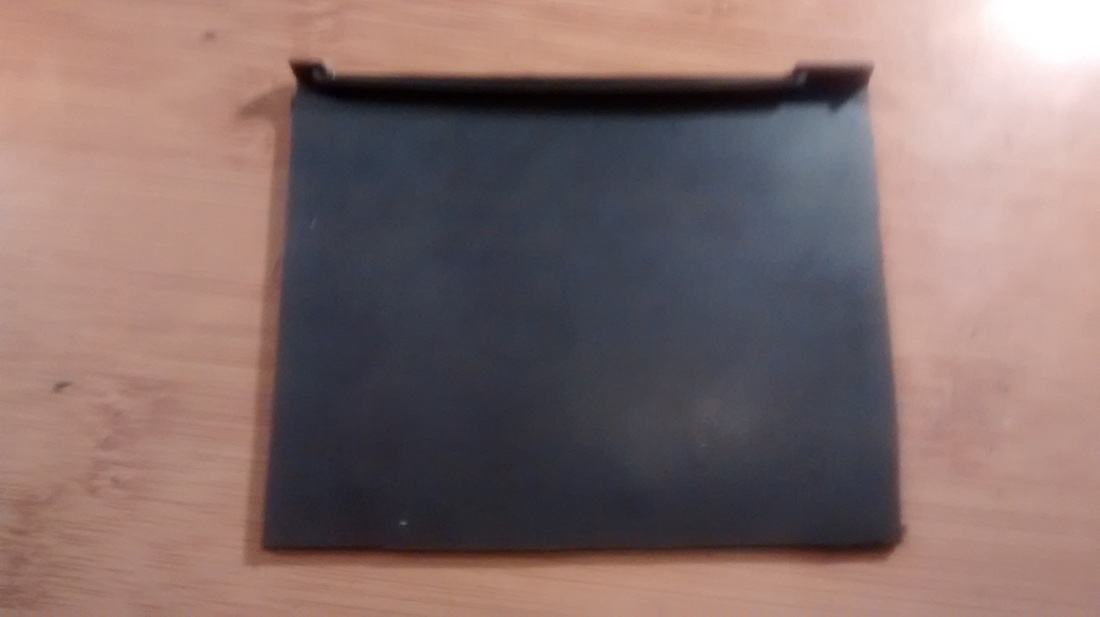
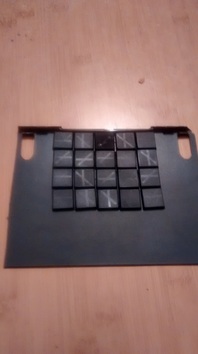
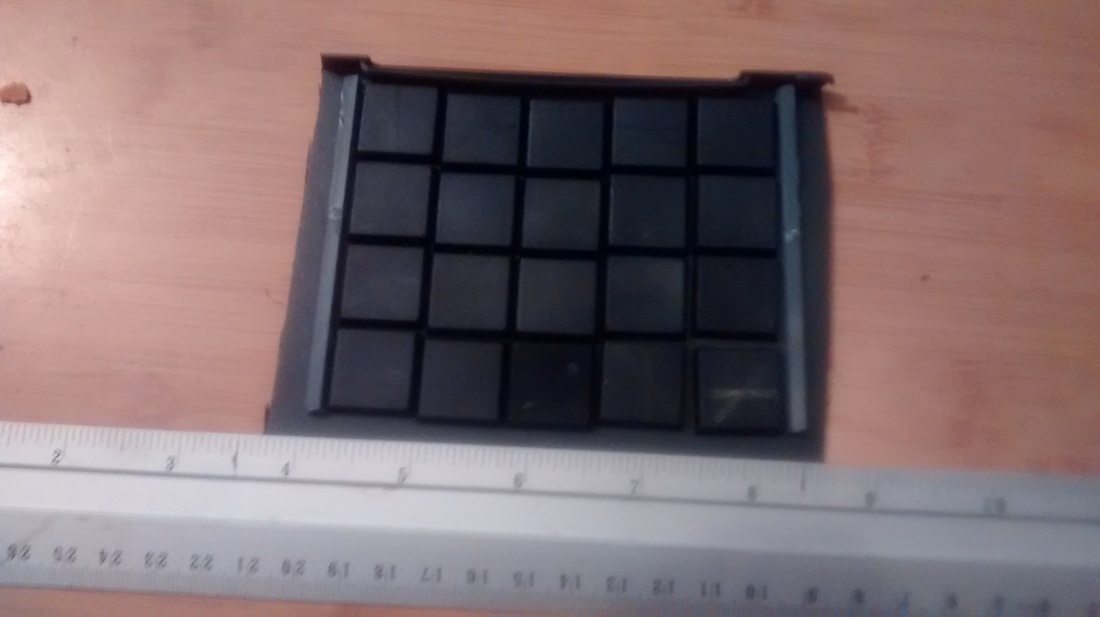
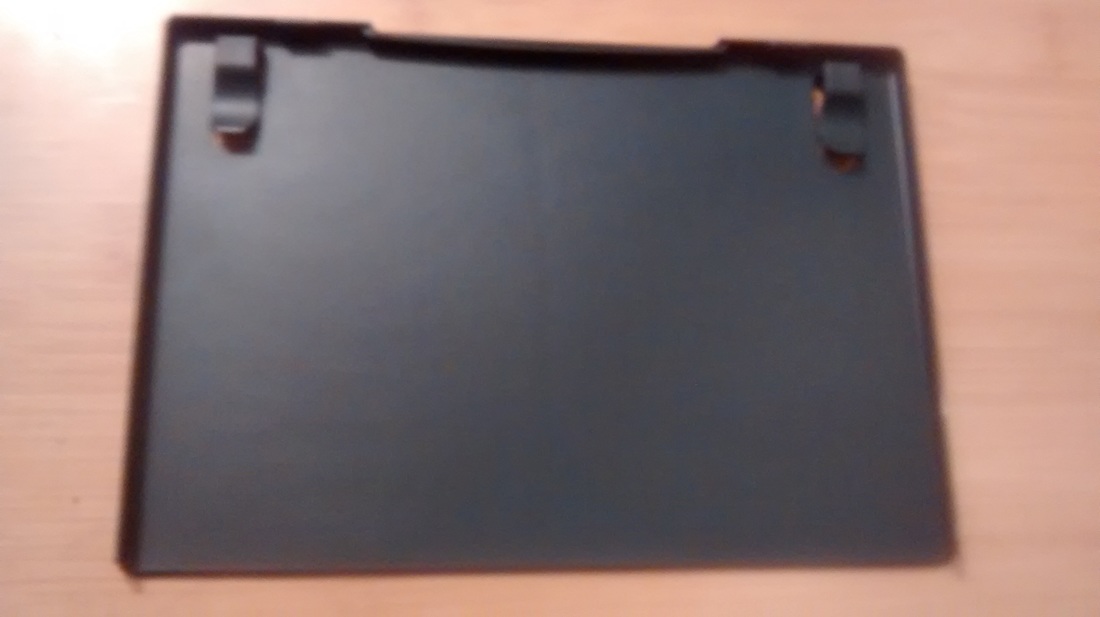 III. Next I break off the two nubbins. You can cut these, but I find they snap off pretty easily in my fingers. 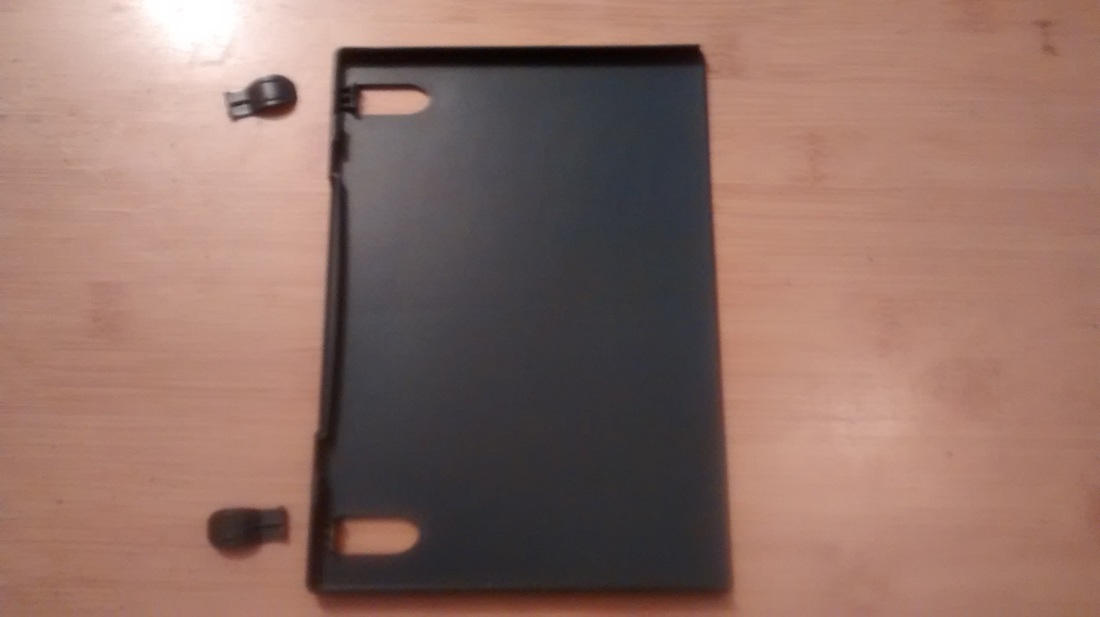 IV. Now I cut off the top and bottom edges. This part can be a little tricky in that it's easy to crack the case by exerting too much pressure. 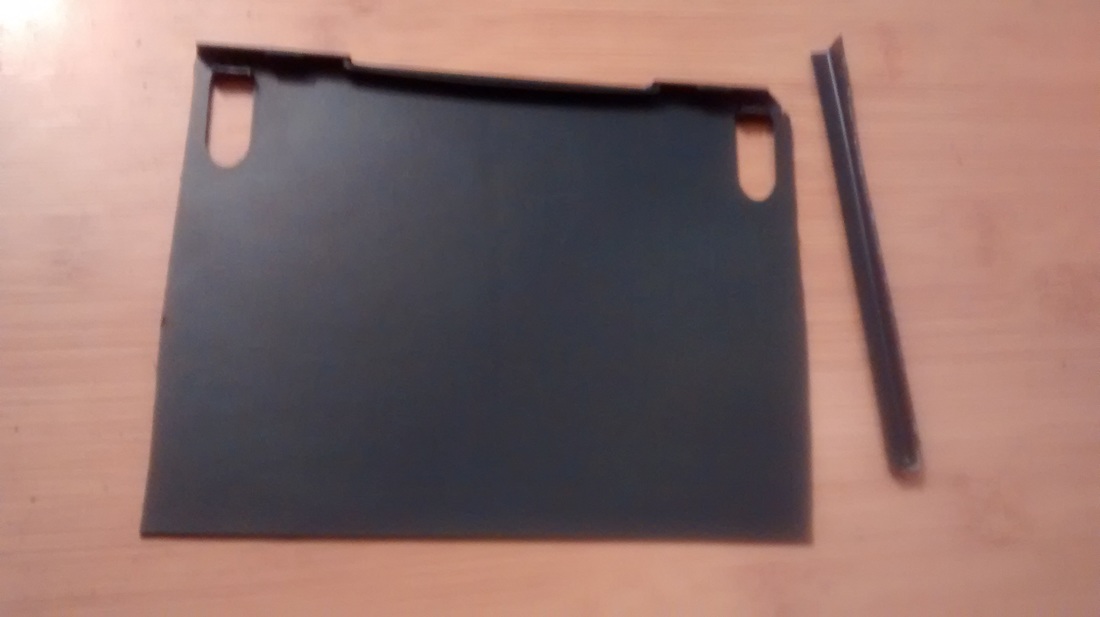 At this point you could simply cut it to size and you'd have a perfectly serviceable movement tray, something I've done many times for last-minute games. But assuming you have the time, its worth putting in the extra effort to improve its look and functionality (that's a word right?) V. Arranging the bases of the unit on the tray to get an idea of the size I'm going to need (note that I tend to use spare bases for this rather than the actual unit), I roughly trim the tray down, leaving a good amount of leeway on all sides.
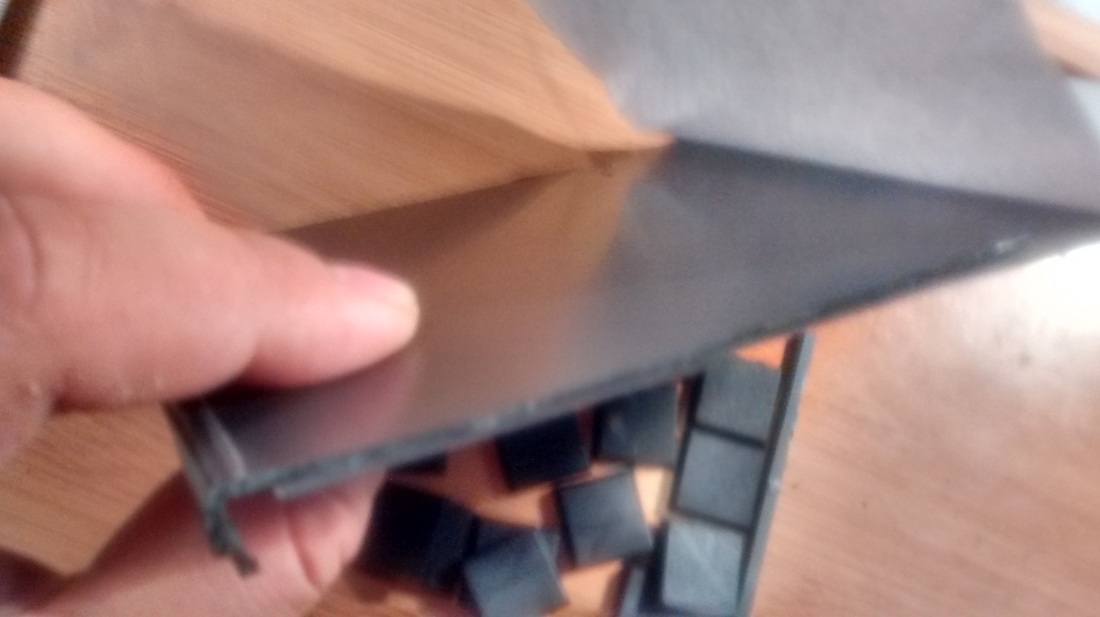
VI. Measuring the sides of the unit, I cut off two pieces of sprue (you can also do a third piece for the back, but in this case, as I may combine it with other units, I'm leaving it open). 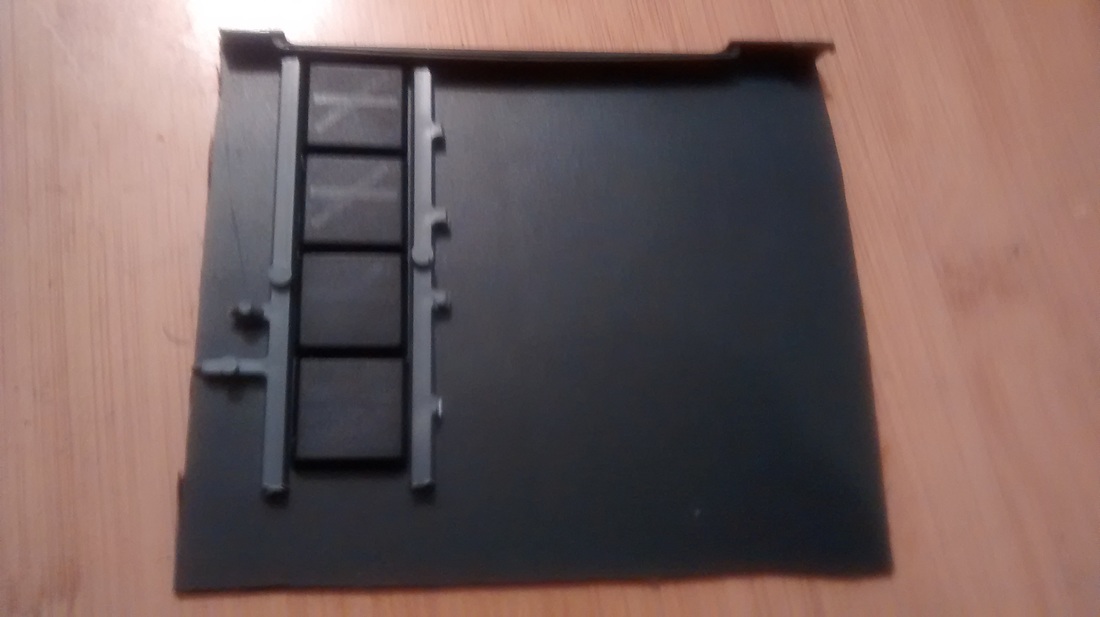 VII. Using my hobby knife/exacto blade, I shave the pieces of sprue until they're free of any outcroppings. They don't need to be smooth or even. 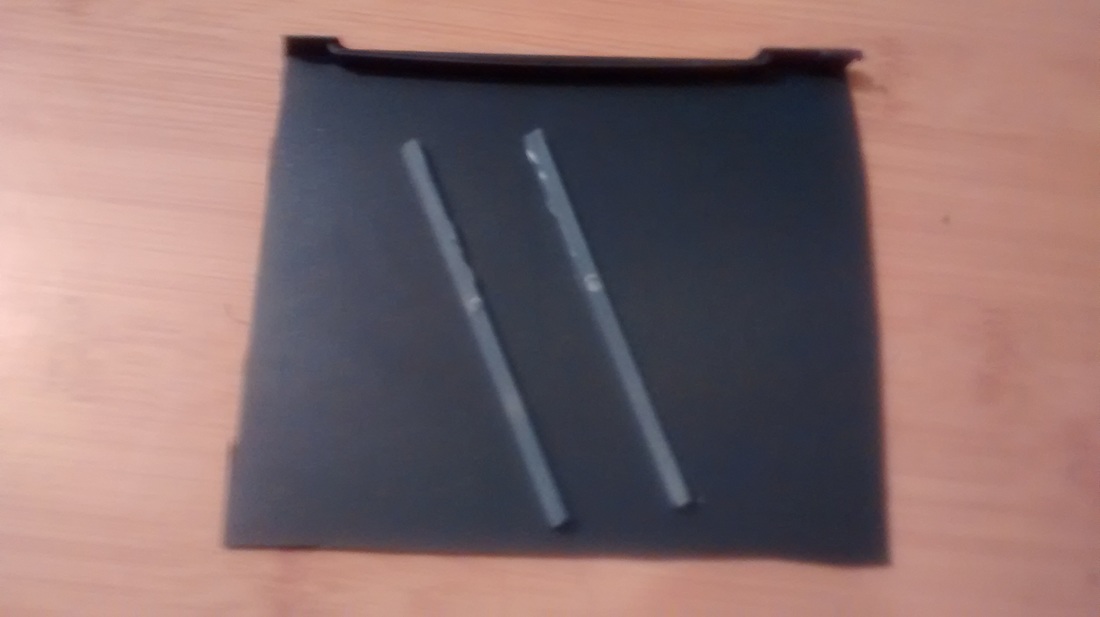 VIII. Now I do a final measurement of the unit's bases arranged on the tray with the sprue borders in place.
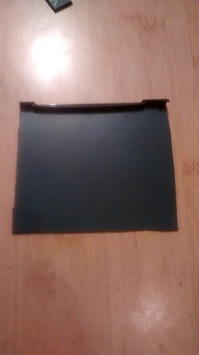
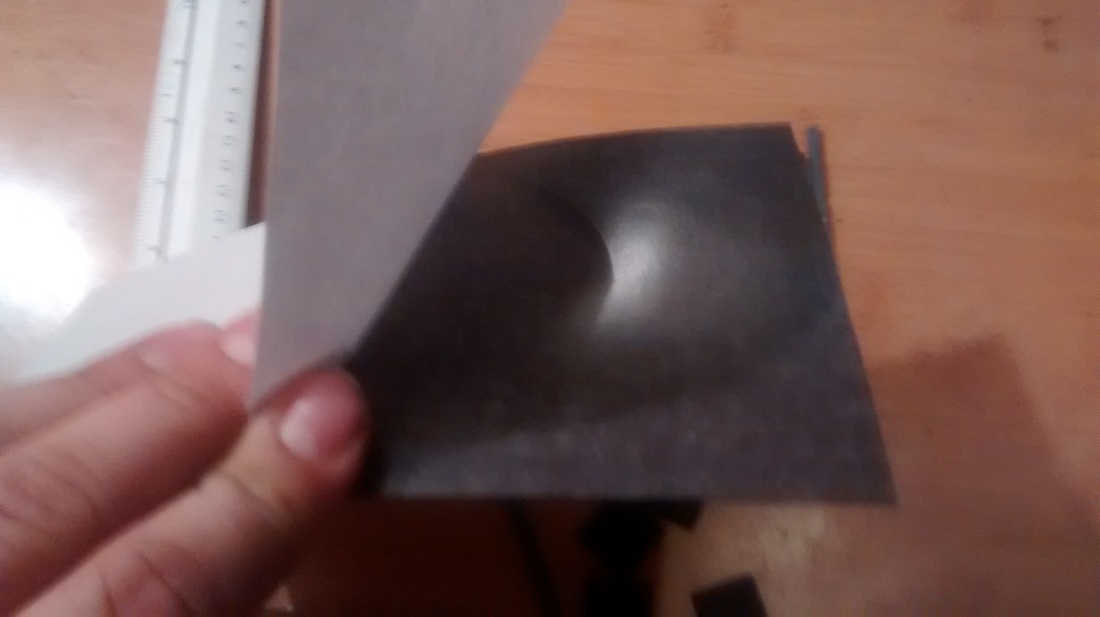
IX. Peeling off the back of the magnetic paper, I lay it flat on the tray, then cut the whole thing down to the correct size.
 X. Again using the spare bases as a guide, I glue the two pieces of sprue in place, giving them plenty of time to dry. Now the tray just needs to be decorated to match the bases of the unit. In my case I went with a very simple scheme for my Plague Monk unit, which is meant just for gaming rather than looking pretty in a display case, so I'll duplicate this on the front of the movement tray and the sprue borders. I spray on Krylon "Make It Stone! - Black Granite" textured paint, wiping off the tray with a paper towel before letting it dry. Then add a bit of moss-like flock, and voilà, a nice-looking, functional movement tray that cost me next to nothing. ADDITIONAL IDEAS There are several options for magnetizing your unit's bases, from rare earth magnets you can buy at a hobby shop just for that purpose to simply attaching small metal washers, but to keep with the cheap and easy theme, you can just cut out squares of the leftover magnetic paper and stick them to the bases. This works fine for a few games, but they do tend to peel off over time, so its better to superglue them. Just be careful with polarities, as the way the square is facing makes a surprising difference. Best to do one at a time and rank them up on the tray as you go, to make sure they don't repel each other. I also put a strip of the leftover magnetic paper on the bottom of the movement tray once its done as I transport my army in a large covered baking sheet, like this: 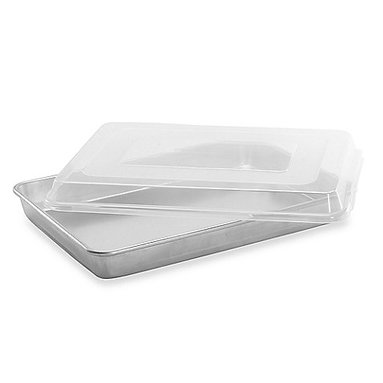 VARIATIONS One dvd case will easily make a movement tray for any standard-sized unit, but its just as easy to make a horde base by simply combining two dvd cases lengthwise, joining them using an uncut magnetic sheet. There may also be occasions where a unit will not rank up flush without difficulties, due to the size/posture of the miniatures or the position of their limbs/weaponry. In this case what I do is separate each rank with a piece of sprue, like so: 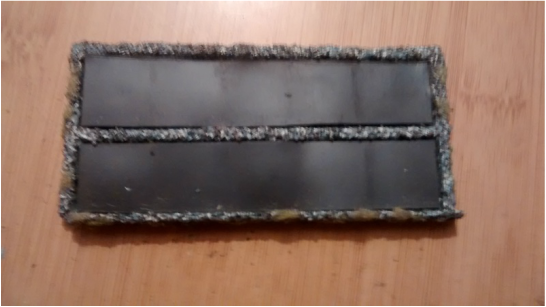 So that's it. Hope someone finds this useful. If you try this method out because of this blog, please send me pics, and I'll post them here.
|
PLOG OF THE HORNED RATIn which The Shadowy Mr. Evans engages his obsession for painting tiny metal figures SKAVEN BLOGROLLChequeo de liderazgo
Full Ashtray Gaming Snickit's Tail Mark Raley Miniatures Goblin Lee's Comrade's Wargames ARCHIVES
February 2024
Categories |
 RSS Feed
